Create a new company
In this topic you learn how to create a new company file in Peachtree.
Before you can start recording transactions for your company, you first need to create
your company data file in Peachtree. This topic guides you through the steps to using
the Create a New Company wizard so that you know the information you need when you create your
company data files.
Using the Create a New Company wizard
The first step in using the Create a New Company wizard is to open it.
There are several ways in which this may be done:
1. Opening Peachtree for the first time?
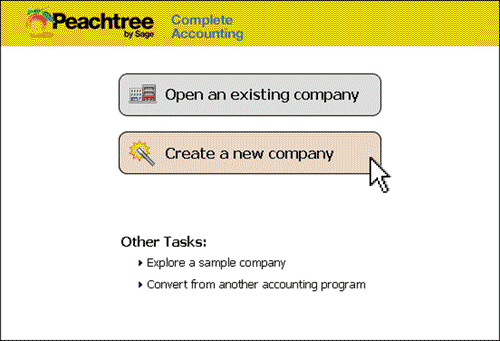
If you are opening Peachtree for the first time, you may be presented with this illustration:
 Click the Create a new company icon. This will open the wizard.
2. Already have another company file open?
There are many ways to access the Create a New Company wizard if you already
have another company file open. One popular way is to use the
Peachtree's menu bar. To do this, select File and choose New Company
(or press <Ctrl> + <N> on your keyboard).
Now that you have opened the Create a New Company wizard...
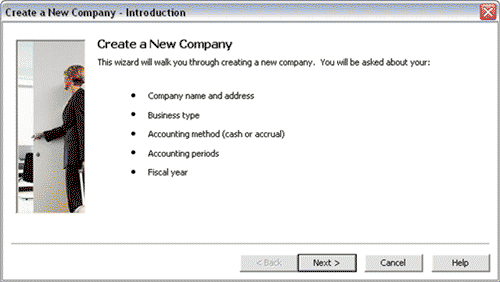
The Create a New Company wizard is made up of a number of
interactive windows and begins with the introduction window shown below.

Click the Next button to continue to the next window or press the Back button
if you need to change information entered in earlier windows. Your company data file will be
created once you press the Finish button in the last window of the wizard. Note that if you
press Cancel before the new company data file is created, you will need to start the wizard
from the beginning again.
The following is a list of the windows in the Create a New Company wizard. Be careful when
entering information into the wizard to create your company data file. While there is some information
that can be changed after your company data file has been created, there are other settings that you
will not be able to alter, so you need to make sure you are accurate with your work.

Helpful Hint!
If you are completing the Peachtree Practice Set, you will find all the information
required to set up your company data file in the Creating the company data file page in your practice set.
Remember to enter your full name after your company name in the Company Name field!
Company Information
After clicking the Next button in the Introduction window,
you are required to enter essential information about your company.
This information includes the company name,
address telephone number, business type and identification numbers.
Once this information has been entered, click Next. This information
can be edited after you have created your company data file by going to
Peachtree's main menu bar and selecting
Maintain → Company Information.
Setup
Next, you select a method to create your company. The most common choice is to select 'Use a sample
business type that closely matches your company.' Then click Next.
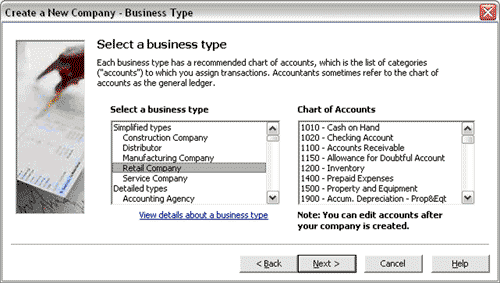
Business Type
You are then instructed to select a business type so that the default chart of accounts created for your company
is appropriate for your business type. Scroll through the 'Select a business type' list and click on
the appropriate business type. You can view the default chart of accounts
for that business type in the 'Chart of Accounts' list.
Instructions on how to modify this default chart of accounts after you have set up your company file can
be found in the Modifying the chart of accounts
topic in this Peachtree Learning Center.
Once you are satisfied with your selection, click Next.

Accounting Method
Next, you are required to select an accounting method - either accrual or cash accounting.
Be careful in your selection, because this
is not able to be changed after you have created your company data file. Click Next.
Posting Method
The next step allows you to choose whether transactions are posted at the time the entry is saved
(Real Time posting method) or whether the transaction information is saved and then posted in a batch
(Batch posting method) after they have been reviewed for accuracy. This information
can be edited after you have created your company data file by
going to Peachtree's main menu bar and
selecting
Maintain → Company Information.
Click Next.
Accounting Periods
You are then required to choose whether your company has monthly accounting periods, or accounting periods
that do not match the calendar months. Click Next once you have made your selection.
Fiscal Year
Next, you are required to select the first period of your fiscal year. Again, you are unable to change this
once you have created your company data file. Click Next once you have made your selection.
Finish
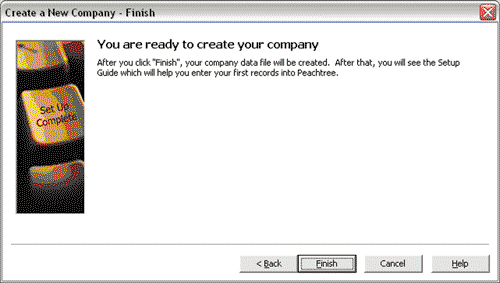
You have now almost completed the Create a New Company wizard and should see the window below:

Click Finish. Peachtree will then take a moment to create your company data files. You may be presented with a
window called Sign Up For Peachtree Payment Solutions. Close this window by clicking OK or the 'X' icon
at the top right corner of the window.
Next, you may see the Peachtree Setup Guide window. Close this guide because we will continue to set up the
company using the maintenance task icons within each relevant Navigation Center.
Instructions on this process can be found in this Learning Center
by clicking on the relevant Navigation Center section and selecting the set up link.
Return to the top